| art - gallery | instruction | students - gallery |
|
INTRODUCTION TO BASIC DRAWING : THE ROLE OF DRAFTING & DESCRIPTIVE GEOMETRY - AS A LANGUAGE :
- Most of the objects in the world around us have three dimentions : length , width , and height .
- P E R S P E C T I V E projections .
- in the source of the projection rays .
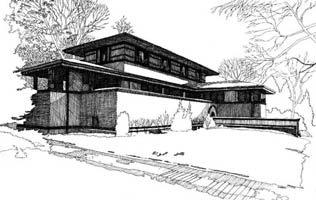
- In the perspective drawing , the center of projection is a point which is called the view point . From this
point we project straight lines through all the edges of the object .
1 : Lines which are parallel to each other in the three dimentional world - will be seen in the perspective drawing as converging into one point .
This point is an imaginary point and is called a vanishing point . There is an infinite number of such points .
The perspective drawing is easy to understand - because it shows the image of the object exactly as the human eye sees it , and one doesn't have to know to read
drafting in order to understand it .
The perspective drawing is distorted and cannot be a source of any accurate dimensions .
- When the center of projection (our eyes) is at an infinite distance from the viewed object - the lines of projection will be parallel
to each other , and will never meet - as opposed to the perspective in which all the lines of projection converge into one point - into our
eye - which is the center of projection .
- Both methods enable us to know the exact measures of an object from such drawings.
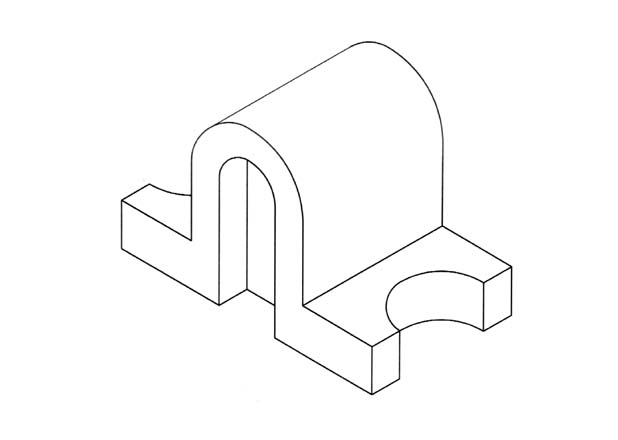
- The vertexes of objects are located on the isometric view according to their distances from each of the three axes .
- All the lines which are parallel to each other in the real world - will be drawn as parallel to each other in the isometric view too .
- Edges of an object which are equal in size in the real world - will be drawn as equal in length in the isometric view .
- The isometric drawing enables us to see the drawn object without the perspective distortion - its dimensions everywhere in the drawing - are correct ,
and because of this , it is of great use to builders and all kind of other proffesionals .
- The main disadvantage of this method of projection is that the sizes of the drawn object are always true to its measurments in reality - while we are used to see it distorted as we see it in perspective in the real world , and sometimes this can be of a nuisanse . the O R T H O G E N I C P R O J E C T I O N :
- While In the first two methodes - the objects are described as they appear - on one picture-plane
, in this method - the object is described by projections on as many picture-planes as we need , and that
enables us to produce a more detailed and accurate technical description of the object from any angle we wish .
- In this method , different views of the object are drawn separatly on each picture-plane by projecting parallel lines through the object on to the-
picture plane and perpendicular to it . All the different views are connected to each other through a system of agreed rules .
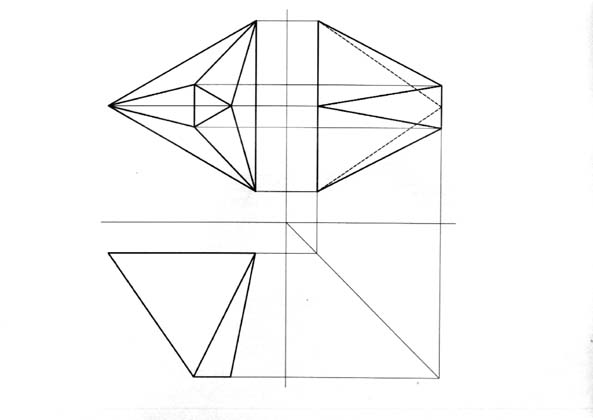
- The basic system of the Monge method consists of two picture-planes which are situated perpendicular to each other - a vertical picture plane &
a perpendicular one . The line where they cut each other is the X axes .
- The viewer is located always at an infinite distance from the object and from the picture-planes .
- In the time of the projection on font the font horizontal picturefont - plane the viewer is located at an infinite distance
above it - and the resulting view is called the : T O P V I E W .
- In the time of the projection on the perpendicular picture - plane the viewer is located at an infinite
distance away from it - and theresulting view is called a : F R O N T V I E W .
- This drafting method was invented by a french mathematician called Monge - and it enables us to describe an accurate image of an object & its exact dimensions . It does so by enabling us to locate as many picture-planes as we need , in any angle and in any position we desire , in front of the object , and this helps us to solve complicated spatial problems .
- The main disadvantage of this method is that it is understood only by people who studied it - and it is not an easy language to be understood and to master . However , it is a language that each proffesional has to know to read , and to use . |
| introduction | views |
|
isometric drawing | sections & solids |
| round bodies | intersection of bodies | roofs | board exams. |


